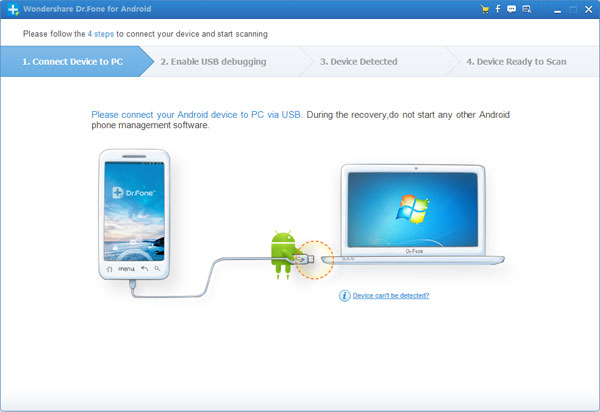
Step 1. Launch the Samsung Data Recovery and connect your device to PC
Run the recovery program on your computer after installation, when you see the primary window, connect your Samsung Galaxy S6 to the program via a USB cable.
After that, the program will automatically identify your device.
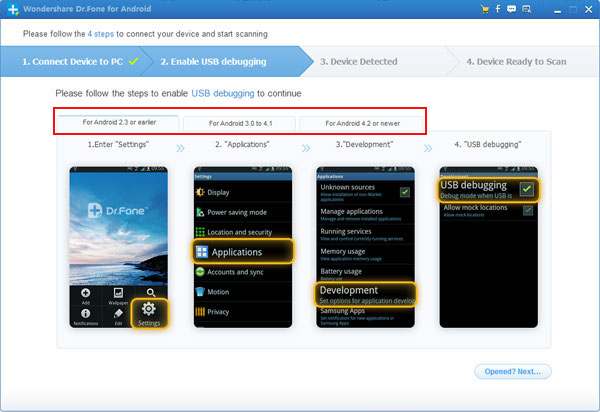
Note: In this step, if you didn't enable USB debugging on your device before, the program will asks you to enter USB debugging for your Galaxy S6, just follow the steps showing in the pop-up window according to your Android version.
Step 2. Analyzing to scan contacts on your Samsung Galaxy S6
Once your device is recognized, please click the "Next" button to go to the next step.
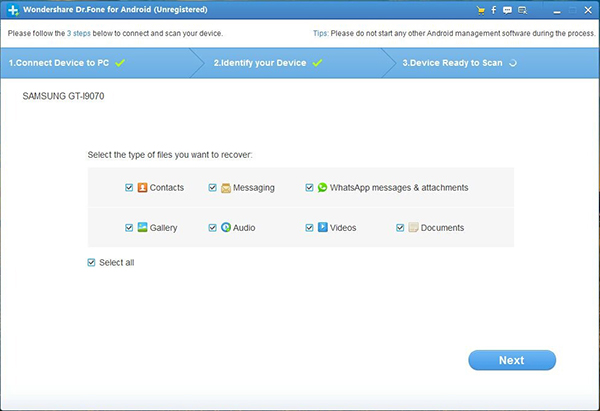
In order to save time for the scanning process, you will be asked to select the file types after click "Next", to scan the lost or deleted contacts, you just need to check out the type of contacts and click "Next".
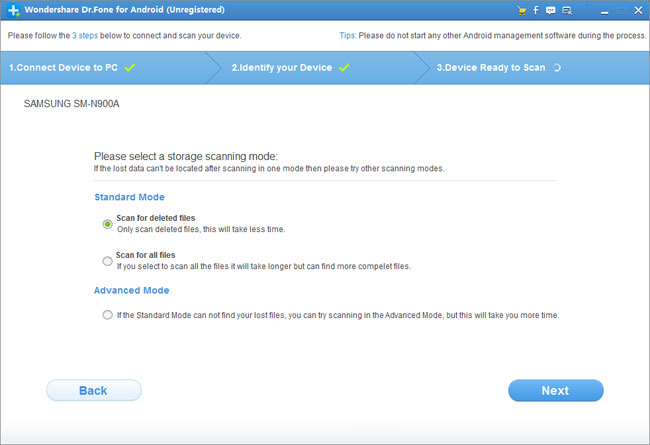
Before the recovery program can scan your device, you need to select a storage scanning mode. There are two scanning modes you can select here, you can select to scan for "deleted files" or "all files" in Standard Mode or Advanced Mode. Apparently, the Advanced Mode will take you more time. If done, please click "Next" to let the program analyze and scan the data on your device.
Please keep your device connected during the operation.
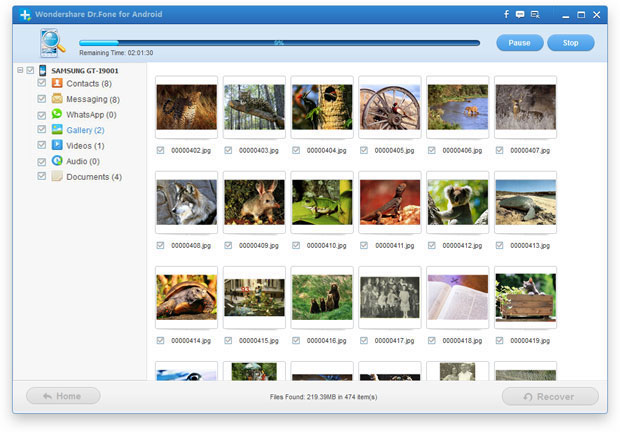
Step 3. Preview and recover whatever you want
The scan may spend you a while. As soon as the scanning is completed, you can preview all recoverable contacts found in the scan result one by one. Then you just need to mark those contacts you want and click "Recover" to save them on your computer in CSV, vCard or HTML format.
