How To Delete All Data From iPhone Permanently On Mac
Bought a new iPhone, Android or other device to take the place of your old iPhone, and you may planning to give your old iPhone to your friend or family? Wanna donate it to community, organization or charity? Wanting to resell it on second hand market, Internet or eBay, or trade-in your old iPhone for a new device? A lot of users are aware of that it's necessary to remove all the contect and settings before dealing with theirs iPhone, however, simple deletion is not enough, many stubborn data still exist in the iPhone, and they are usually important or intimate, even if you already deleted them on your iPhone, but they can be restored by some professional recovery tools, are you going crazy now? That's the reason why recently lots of users asking how to permanent delete all data from iPhone on Mac.
No roads can not go the end, just as, no questions can not find a way to solve. So, you are never too late to using the iPhone Data Eraser Mac to permanent delete all your content and settings from iPhone on Mac.
iPhone Data Eraser Mac is the ideal and professional wiping application that special designed for iPhone as well as iPad and iPod touch to permanently erase all data or erase deleted files with a click. With the help of this program, you are allows to erase data including Contact, Message, Call History, Calendar, Email, Note, Reminder, iTunes DB, App, System setting, Apple ID, Photos, Videos, Voice memo, Keyboard Cache, Safari Bookmark, Passbook, and so on from iPhone 4, iPhone 4S,iPhone 5, iPhone 5C, iPhone 5S and even the iPhone 6 on Mac. What's more, all the erased data can not deing recovered even using the most powerful recovery tool, including the iPhone Data Recovery.
Free download a trial Mac or Windows version below and have a try now.
.png)
.png)
Steps to Permanent Delete Data from iPhone on Mac
Note: Please remember to back up the data you want from iPhone before erasing your iPhone, so that you can restore if you still want it back. To easily and completely back up iPhone data, you can choose to use the Phone to Phone transfer or iPhone to PC Transfer.
Step 1. Install the program and connect your iPhone with your computer
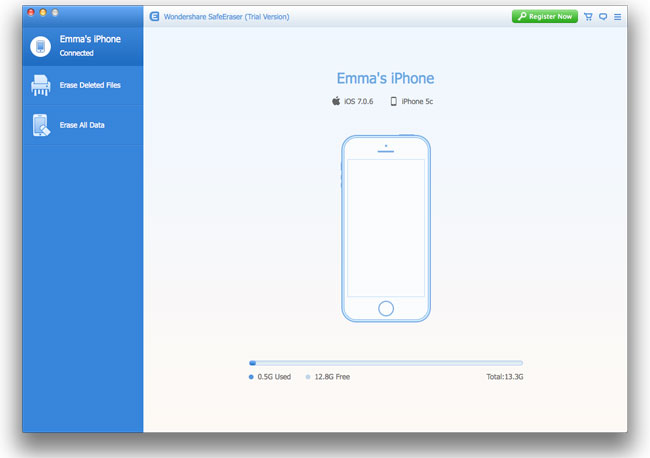
Install and launch the iPhone Data Eraser Mac on your iMac, MacBook Pro or MacBook Air, then connect your iPhone to Mac via an Apple USB cable. The program will detect your iPhone automatically and you can see the information of your device if done.

Step 2. Choose the security level to erase your iPhone
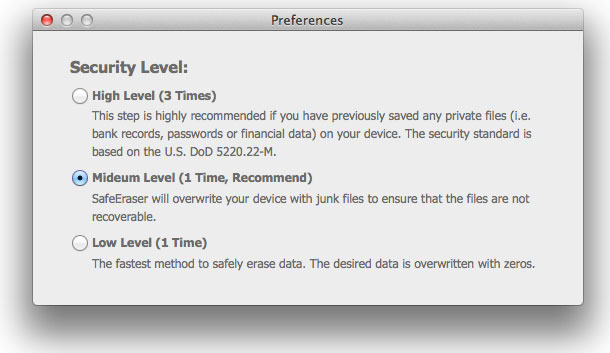
There are 3 security levels including Low, Medium and High level providing by the program to erase your iPhone device, to see the security level options by clicking the list icon on the top right. Here you can see the "Medium" level is the default one. The higher level, the deeper wiping degree. You can choose a security level according to your need to erase your data on iPhone.

Step 3. Choose the right option to erase your iPhone
You can see two erased options in the left of the program's interface. One is "Erase Deleted Files", another is "Erase All data". If you just want to all the deleted files on your iPhone permanently, please choose the "Erase Deleted Files" option, if you want to permanent erase all your iPhone data, you can choose "Erase All data".
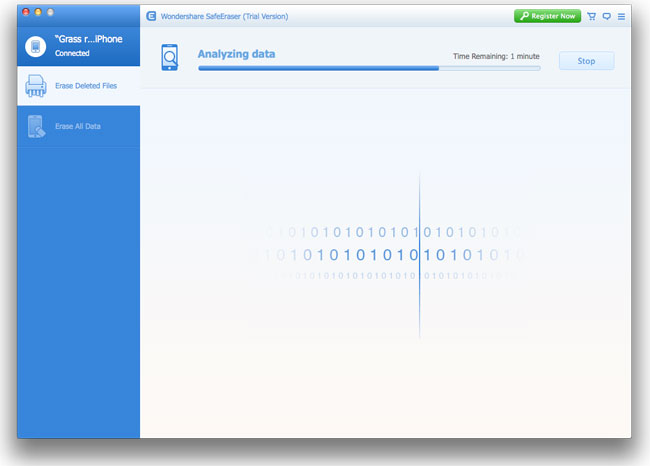
If you've choose Erase Deleted Files, then you should click Start to let this program to scan your iPhone for deleted files.

Step 4. Erase data on your iPhone
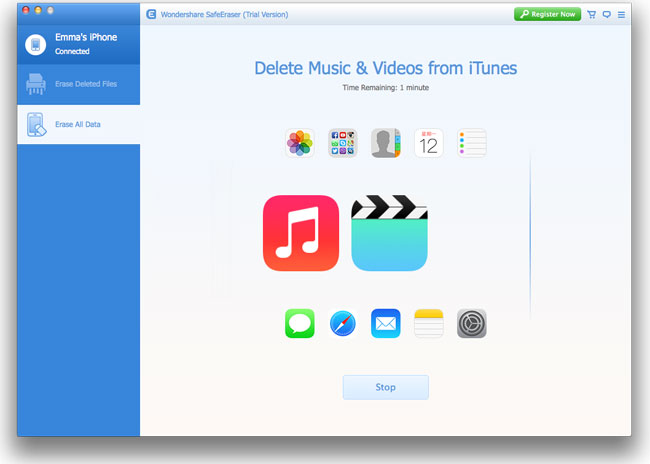
If you’ve chosen "Erase All data", after the scan, you should check unwanted data to let iPhone Data Eraser Mac to delete them permanently from your iPhone. If you select "Erase All data", then you should enter "Delete" to confirm the deletion and let this program erase all data from your iPhone.

Note: In order to ensure completely delete all the unwanted data, please keep your iPhone connected during the whole wiping process.
Related Articles
.png)
.png)


